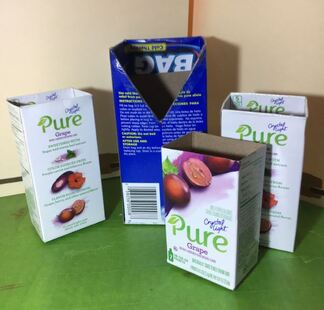
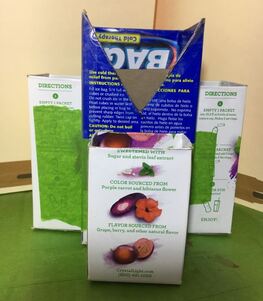
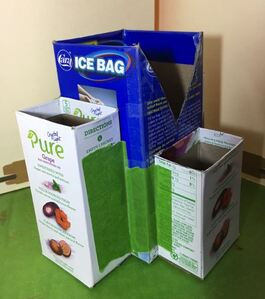
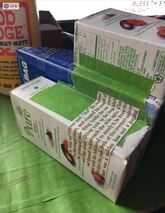
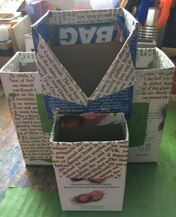
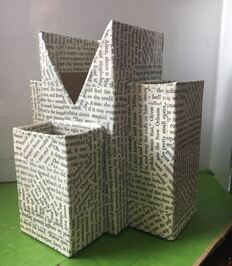
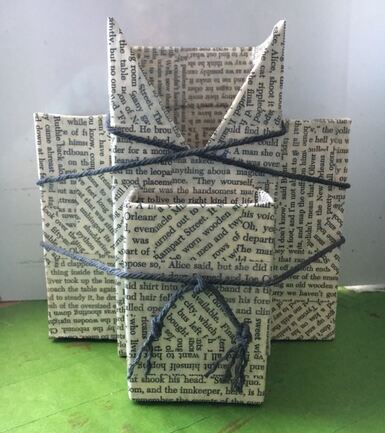
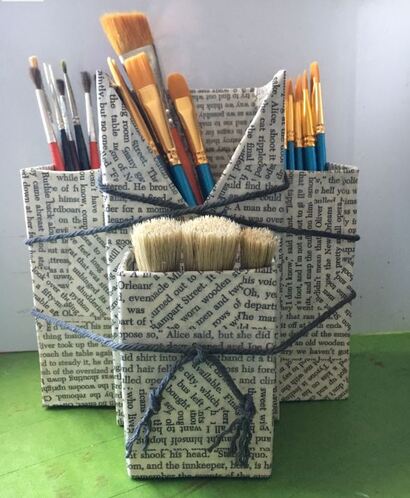
| The first thing you need to do is to come up with the size and shape of organizer that you want to make. I needed an organizer for my craft paint brushes, and I needed four compartments, so that was the basis for my organizer. The next step is to find the boxes to make your organizer. Most of the time I can find what I need in the kitchen. If there are no empty boxes, then I usually just "lift' a few.....lol. Just empty the box into another bag, and place it back in the cupboard. Voila, you have a box. I find mac and cheese boxes are great, as well as cereal boxes. For this project I used mostly drink mix boxes. | IMPORTANT NOTE: If the identity of what you removed from the box is not readily apparent, don't forget to LABEL it. You don't want to end up rolling your fried chicken in powdered sugar instead of flour. |
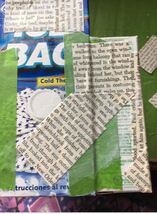
I would suggest using smaller pieces of paper instead of trying to cover the boxes in one big piece. Smaller pieces are easier to deal with and keep out air bubbles and wrinkles.
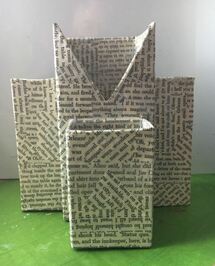
This organizer was easy and fun to make, if you would like other posts about making decoupage projects, I have a couple more here on my blog:
I hope you spend some of your time while you are stuck at home making some organizers, now that you know how easy it is!
Have a great weekend!
Jade :)



 RSS Feed

